Easy Woven Cowl Crochet Pattern: Free Step-by-Step Guide
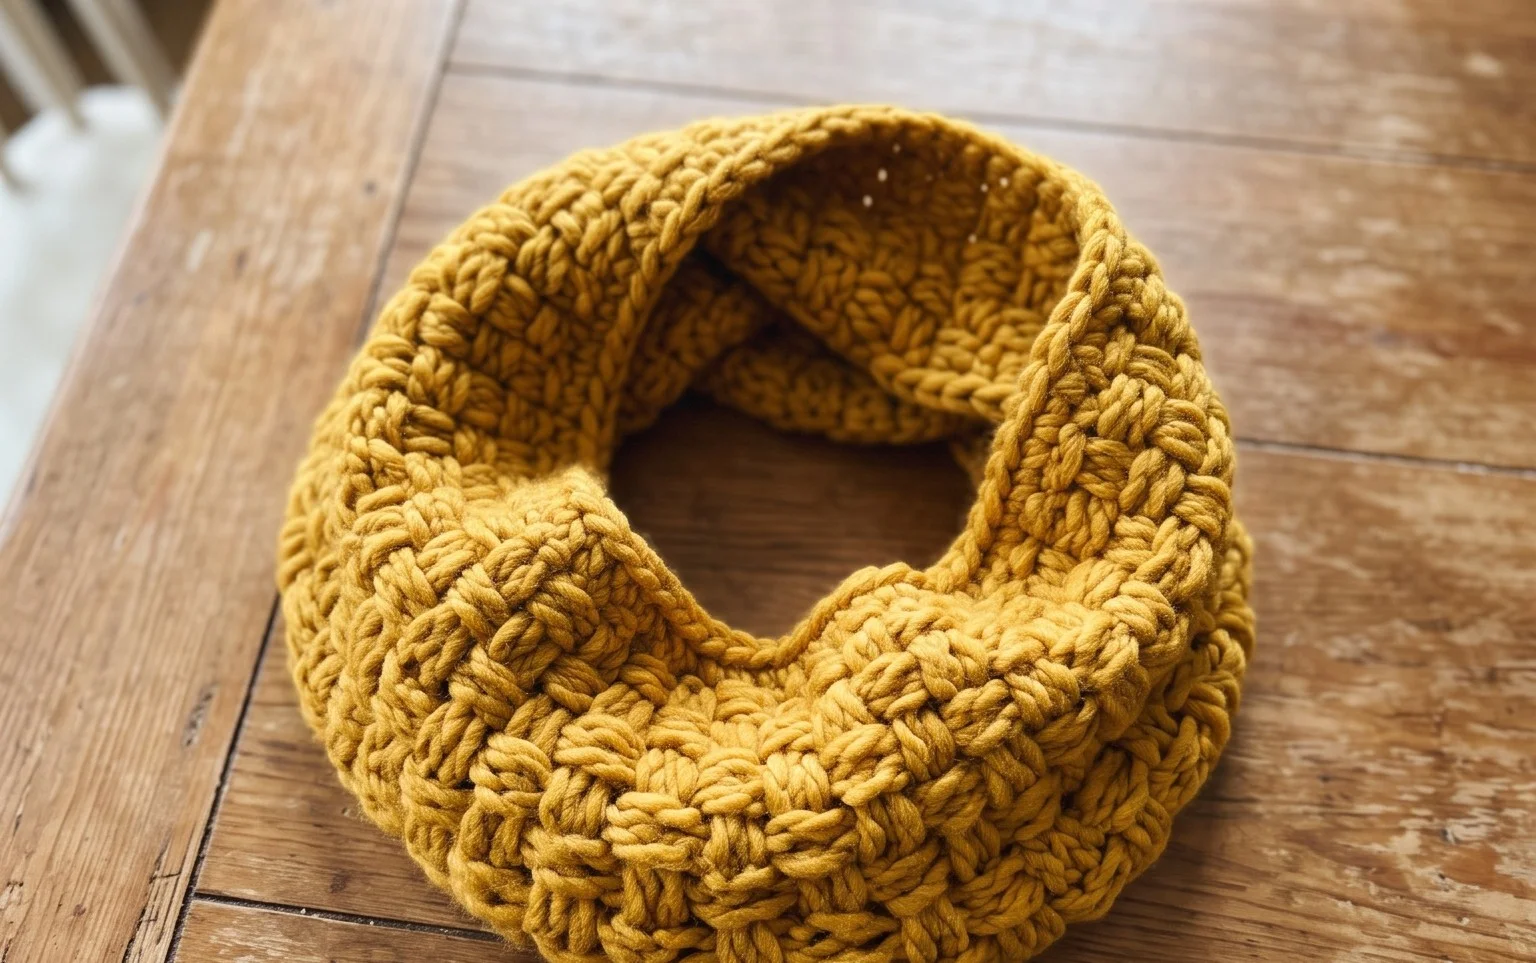
Soft cotton yarn loops around your neck to create a thick and squishy fabric that keeps the cold at bay during winter walks. This project works up quickly because you build individual squares and join them as you go. It suits makers who enjoy rhythmic, repetitive movements and want a mindless activity after a long day of work. You will learn the classic granny cluster technique and a simple joining method that creates an seamless, interlocking look. Beginners often find this method approachable because the small segments allow for frequent breaks without losing track of your row progress.
Why You’ll Love This Pattern
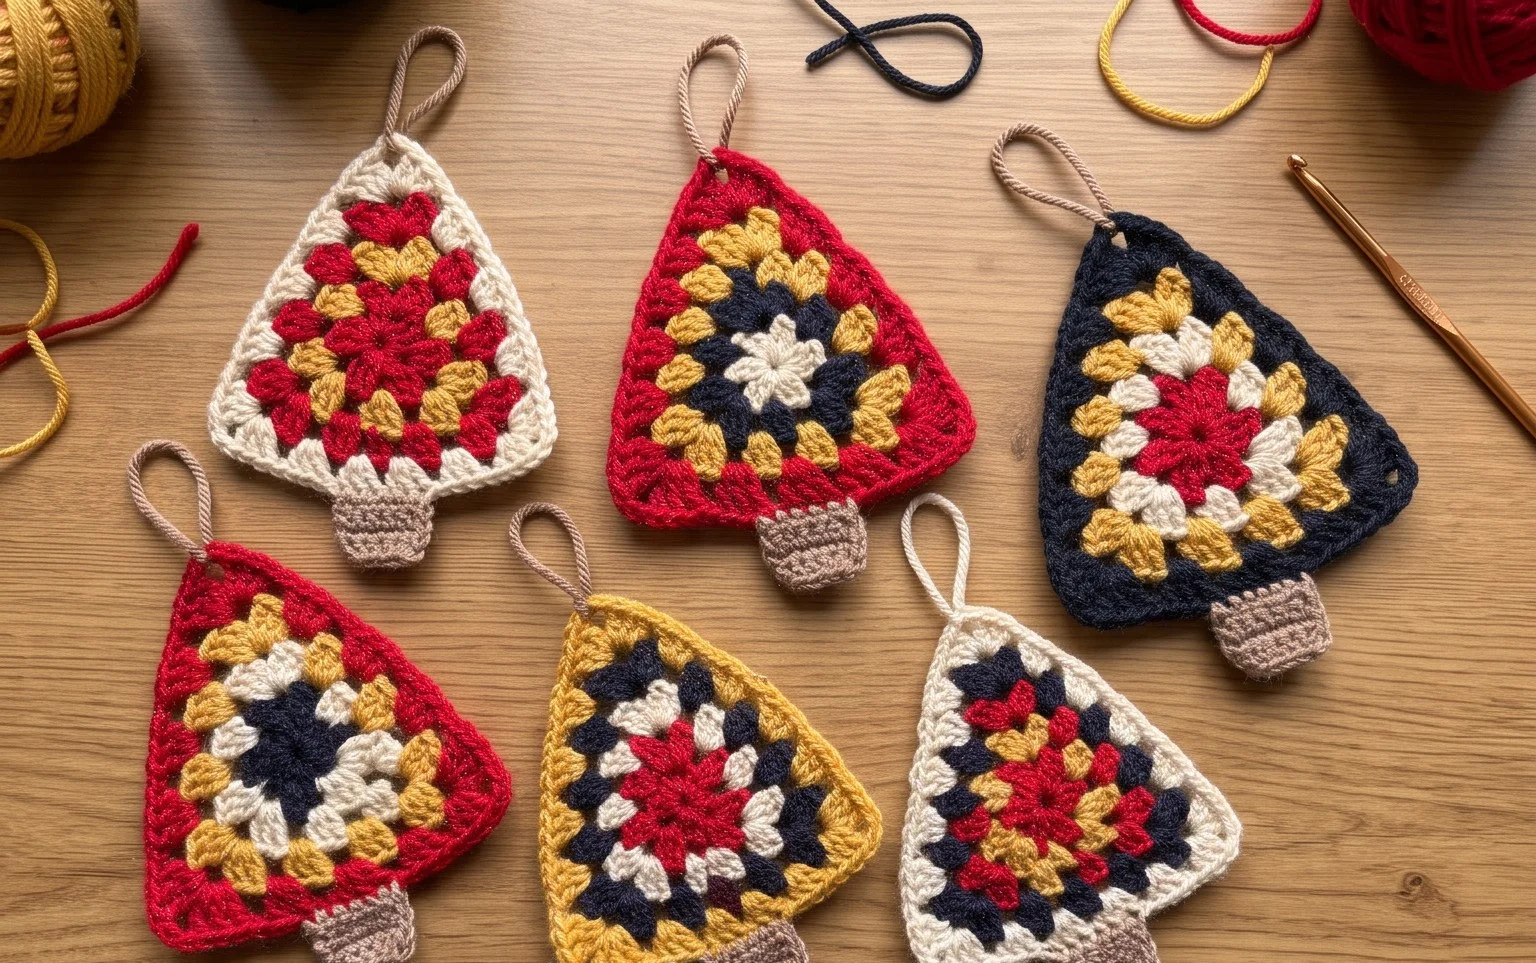
The Classic Crochet Granny Square is the building block of textile arts, offering a rhythmic, repetitive stitch pattern that is perfect for mindful making. Because it works from the center outward, you can easily control the final size of your project by simply adding more rounds. This particular pattern uses the standard cluster technique, ensuring that your squares lay flat without warping or ruffling. It is an ideal way to use up small amounts of leftover yarn, as each square consumes only a few yards, allowing you to create a scrap-friendly project with a colorful, bohemian aesthetic.
I finally mastered the granny square with this tutorial after struggling for weeks with other guides. The row-by-row instructions made it so easy to see where my hook needed to go.
— Sarah, hobbyist maker
Pattern Overview & Skill Level
- Skill Level: Beginner
- Approximate Time: 30 to 45 minutes per square
- Construction: Continuous rounds worked from the center outward
- Finished Dimensions & Sizing: Approximately 5 inches by 5 inches using worsted weight yarn
Materials & Supplies Needed
- Yarn: Worsted #4 weight, 100% cotton or acrylic blend, approximately 15 yards per square.
- Hook Size: 5.0 mm / H-8
- Notions: Tapestry needle for weaving in ends, scissors, and optional stitch markers to track the first stitch of each round.
- Yarn Substitutions: You may use DK weight yarn for a smaller, more delicate square, though you will need to add extra rounds to reach the same dimensions. Bulky weight yarn will result in a larger, faster-working square but requires a larger 6.0 mm hook to maintain drape.
Stitch Guide & Abbreviations (US Terms)
- ch: chain
- st: stitch
- sl st: slip stitch
- dc: double crochet
- dc cluster: a group of 3 dc stitches worked into the same space
- sp: space
- MR: magic ring (an adjustable loop used to start the center)
Step-by-Step Pattern Instructions
This square is worked in the round. You will join each round with a slip stitch to the top of the beginning chain or the first stitch, depending on the round.
Rnd 1: Start with a MR. Ch 3 (counts as first dc), 2 dc into the ring, ch 2, *3 dc into ring, ch 2; repeat from * twice more. Join with sl st to top of beg ch-3. (12 dc, 4 ch-2 sps)
Rnd 2: Sl st into the next 2 dc and into the first ch-2 sp. Ch 3, 2 dc in same sp, ch 2, 3 dc in same sp (first corner made). *Ch 1, skip 3 dc, (3 dc, ch 2, 3 dc) in next ch-2 sp; repeat from * twice more. Ch 1, join with sl st to top of beg ch-3. (24 dc, 4 ch-2 sps, 4 ch-1 sps)
Rnd 3: Sl st into the next 2 dc and into the ch-2 sp. Ch 3, 2 dc in same sp, ch 2, 3 dc in same sp. *Ch 1, 3 dc in next ch-1 sp, ch 1, (3 dc, ch 2, 3 dc) in next corner ch-2 sp; repeat from * twice more. Ch 1, 3 dc in last ch-1 sp, ch 1, join with sl st to top of beg ch-3. (36 dc, 4 ch-2 sps, 8 ch-1 sps)
Rnd 4: Sl st into the next 2 dc and into the ch-2 sp. Ch 3, 2 dc in same sp, ch 2, 3 dc in same sp. *Ch 1, (3 dc in next ch-1 sp, ch 1) twice, (3 dc, ch 2, 3 dc) in next corner ch-2 sp; repeat from * twice more. Ch 1, (3 dc in next ch-1 sp, ch 1) twice, join with sl st to top of beg ch-3. (48 dc, 4 ch-2 sps, 12 ch-1 sps)
To finish, cut the yarn, pull the tail through the final loop, and use your tapestry needle to weave the end into the back of the work, moving through the base of the stitches to keep the connection invisible.
Care & Washing Instructions
- Hand wash in cool water using a mild detergent to prevent fiber stretching or felting.
- Lay the square flat on a clean towel to dry, shaping it gently into a perfect square while damp.
- Do not hang to dry, as the weight of the water can distort the stitch pattern and increase the size of the square.
Pro Tips & Common Mistakes to Avoid
- Tension control is vital; if your squares are curling, you may be working your stitches too tightly, so try going up half a hook size.
- Place a stitch marker in the first stitch of every round to easily identify where to join, as the corners can look similar to the side clusters.
- When weaving in ends, run the tail through the back loops of the same color stitches to hide the yarn completely.
- Adjusting the size is simple; add additional rounds by repeating the Rnd 4 pattern, adding one more “3 dc cluster” group into the ch-1 spaces along the sides for every new round you add.
Frequently Asked Questions
Can I use different yarn weights in one project?
Mixing yarn weights is generally discouraged because thinner yarns will pull at the stitches of thicker yarns, causing the fabric to pucker. For the best result, stick to one yarn weight per project.
Is this pattern suitable for making a full blanket?
Yes, the classic granny square is designed for modular assembly. You can make as many squares as you need and join them using a whip stitch or single crochet join.
Do I need to block my squares?
Blocking is recommended if you plan to join them together. Steam or wet blocking helps the stitches relax and ensures every square is exactly the same size for easier assembly.
Can I sell items made from this pattern?
You are welcome to sell finished items you have made yourself, but please do not sell or redistribute the pattern document. A credit to the designer is appreciated.
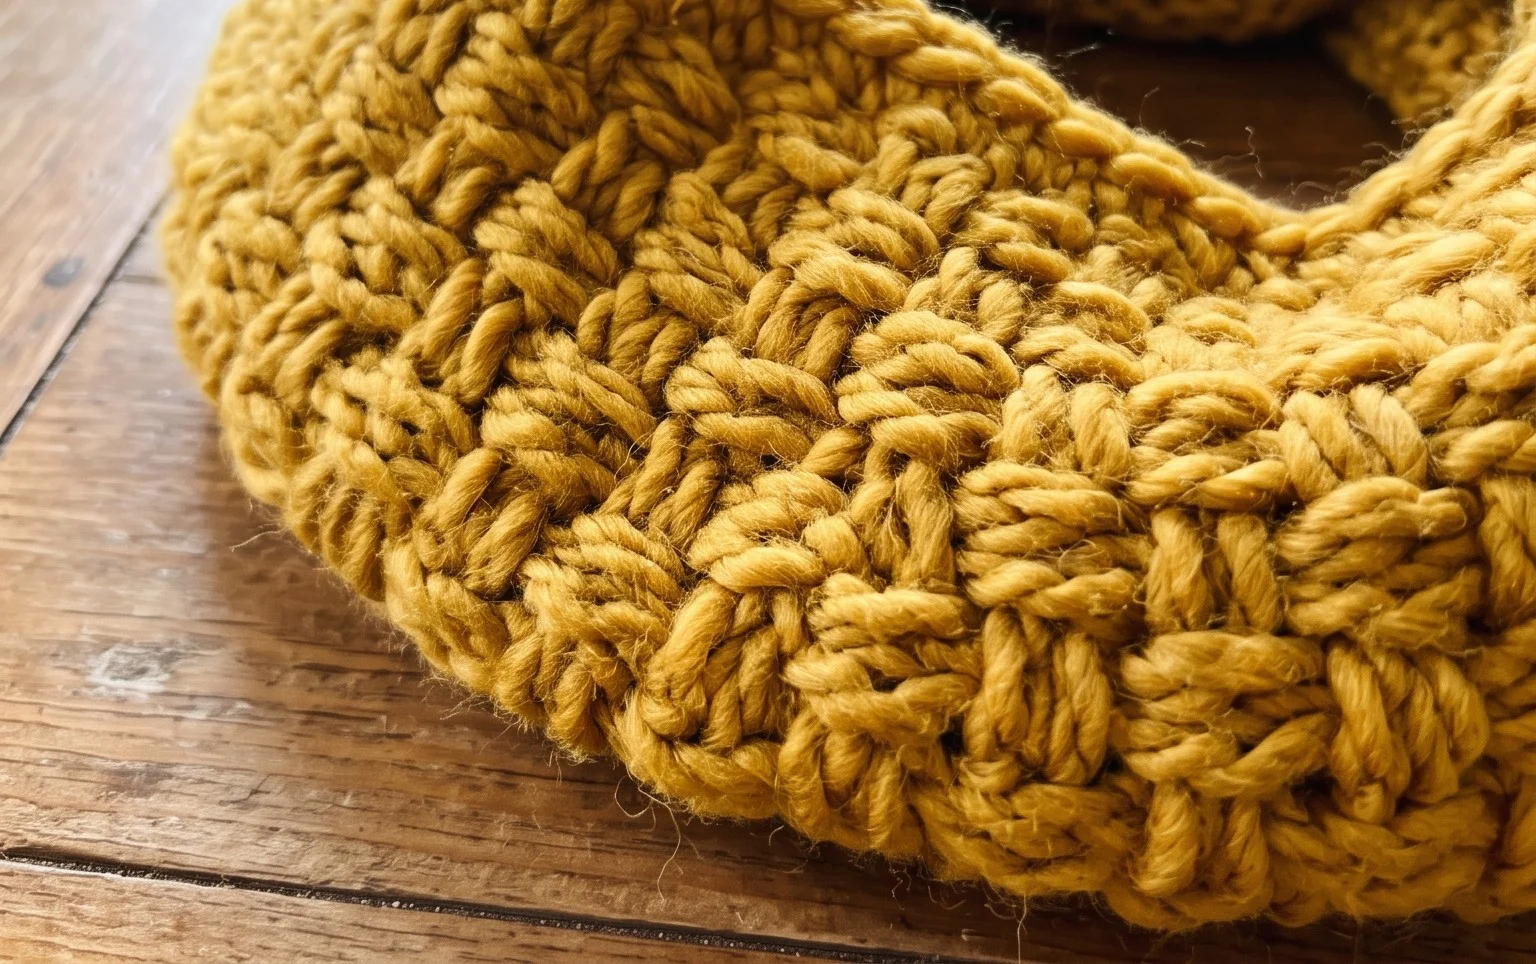
Your finished piece provides a warm, dense layer that looks great paired with a simple wool coat. If you want a lighter version for spring, swap the worsted weight cotton for a bamboo blend or a thinner sport weight yarn. Please share a photo of your work on Instagram or Pinterest to show off your custom color palette. Check the archives on this blog for more seasonal projects and free stitch tutorials to help you finish your next handmade gift.