Easy Winter Beanie: Free Crochet Pattern for All Sizes
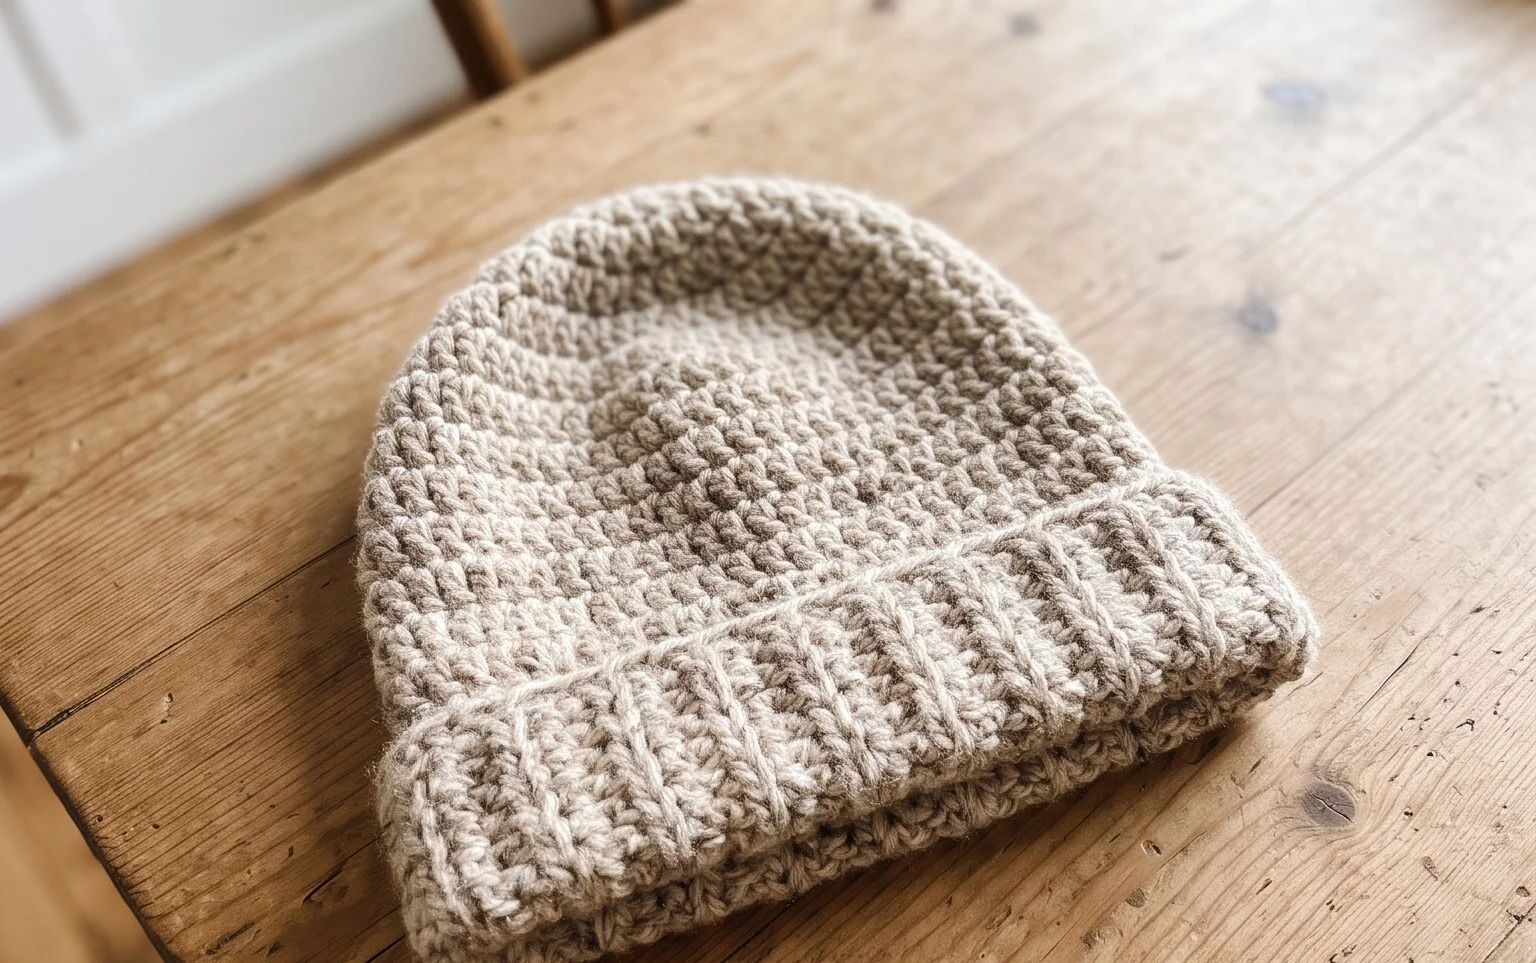
This snug winter accessory has a smooth, dense fabric that keeps ears warm against biting wind. You will find that the finished hat sits close to the head with a clean, classic shape suitable for both children and adults. Working in a continuous spiral prevents those awkward visible seams, allowing your yarn colors to flow naturally around each row. This project relies on the simple double crochet stitch, which grows quickly under your hook. It is a rewarding way to spend a cold afternoon while turning a single skein of wool into a thoughtful handmade gift.
Why Crocheters Love It
This project uses a standard worsted weight yarn to create a sturdy, functional fabric that holds its shape well over time. You will appreciate how quickly the rounds build up, making this an ideal pattern for an afternoon of crafting. Because the design relies on basic stitches, it provides a consistent, rhythmic experience that is helpful for building muscle memory. The simplicity of the construction means you can easily customize the final aesthetic with different color choices without needing to adjust the core math of the pattern.
I finished this project in a single weekend. The instructions are very clear, especially the rounds for the base, which helped me keep my stitch count perfect throughout the entire process.
— Sarah, intermediate crocheter
Pattern Overview & Skill Level
- Skill Level: Beginner
- Approximate Time: 3 to 4 hours
- Construction: Worked in continuous spiral rounds from the base upward
- Finished Dimensions: 6 inches in diameter by 7 inches tall
Materials & Supplies Needed
- Yarn: Worsted weight (#4) cotton blend, approximately 150 yards.
- Hook Size: 5.0 mm (H-8) crochet hook.
- Notions: Tapestry needle for weaving ends, stitch marker to track the start of rounds, and a pair of sharp scissors.
- Safe Yarn Substitutions: Acrylic worsted yarn is a suitable substitute that provides a slightly softer feel, though it may result in a more relaxed structure. Wool blends can be used for extra warmth if the item is intended for storage, but ensure the yarn is non-felting to maintain the stitch definition.
Stitch Guide & Abbreviations (US Terms)
- MR: Magic Ring. A method of starting a project by crocheting into an adjustable loop.
- ch: Chain stitch.
- sc: Single crochet. Insert hook, yarn over, pull up a loop, yarn over, pull through both loops.
- inc: Increase. Work 2 sc into the same stitch to add one stitch to the total.
- dec: Decrease. Single crochet two stitches together to reduce the total count by one.
- sl st: Slip stitch. Insert hook, yarn over, pull through both the stitch and the loop on the hook.
- BLO: Back loop only. Work the stitch into only the rear loop of the V-shape on top of the previous row’s stitch.
Step-by-Step Pattern Instructions
Base and Sides
- Rnd 1: Start with a MR, work 6 sc into the ring. (6 sts)
- Rnd 2: Work 2 sc in each st around. (12 sts)
- Rnd 3: 1 sc in next st, inc in next st repeat from * to * 6 times. (18 sts)
- Rnd 4: 1 sc in next 2 sts, inc in next st repeat from * to * 6 times. (24 sts)
- Rnd 5: 1 sc in next 3 sts, inc in next st repeat from * to * 6 times. (30 sts)
- Rnd 6: 1 sc in next 4 sts, inc in next st repeat from * to * 6 times. (36 sts)
- Rnd 7: Work sc in BLO in every st around. (36 sts)
- Rnds 8–18: Work 1 sc in each st around. (36 sts)
Finishing
Once you reach the final round, slip stitch into the next stitch to smooth out the edge. Cut your yarn, leaving an 8-inch tail. Pull the tail through the final loop and pull tight to secure. Use your tapestry needle to weave the remaining end into the interior of the stitches on the inside of the work, ensuring the tension matches the surrounding fabric so the finish remains invisible.
Care & Washing Instructions
- Hand wash in cool water using a mild detergent designed for delicate fibers.
- Gently squeeze out excess moisture by rolling the item in a clean towel, then lay it flat on a dry surface to air dry completely.
- If the item becomes misshapen, lightly dampen it and reform it with your hands, then allow it to dry flat in its corrected shape.
Pro Tips & Common Mistakes to Avoid
Maintain consistent tension by holding your yarn with a steady grip throughout the process. If your stitches look loose or gaps appear, try moving down one hook size to 4.5 mm. Always place a stitch marker in the first stitch of every round to avoid losing your place, which is the most common reason for incorrect stitch counts in spiral construction. You can adjust the overall size of the finished piece by adding or subtracting rounds from the base (Rnds 1–6) or the sides (Rnds 8–18), but keep in mind that larger pieces will require additional yarn yardage.
Frequently Asked Questions
Can I use a different weight of yarn for this pattern?
Using a different yarn weight will significantly change the dimensions of the finished piece. If you choose a lighter yarn, such as DK weight, you will need to increase the number of rounds in the base to reach the desired size.
How do I know if my tension is correct?
Your stitches should be firm with very little space between them. If you can easily see through your stitches, your tension is too loose and you should try a smaller hook.
Is this pattern suitable for someone who has never crocheted before?
This pattern is beginner-friendly as it relies primarily on the single crochet stitch. It is a great way to practice working in the round while producing a useful item.
Am I allowed to sell items I make using this pattern?
You may sell finished items produced from this pattern, provided you credit the original designer. Always check the specific usage terms provided by the designer regarding mass production or wholesale selling.
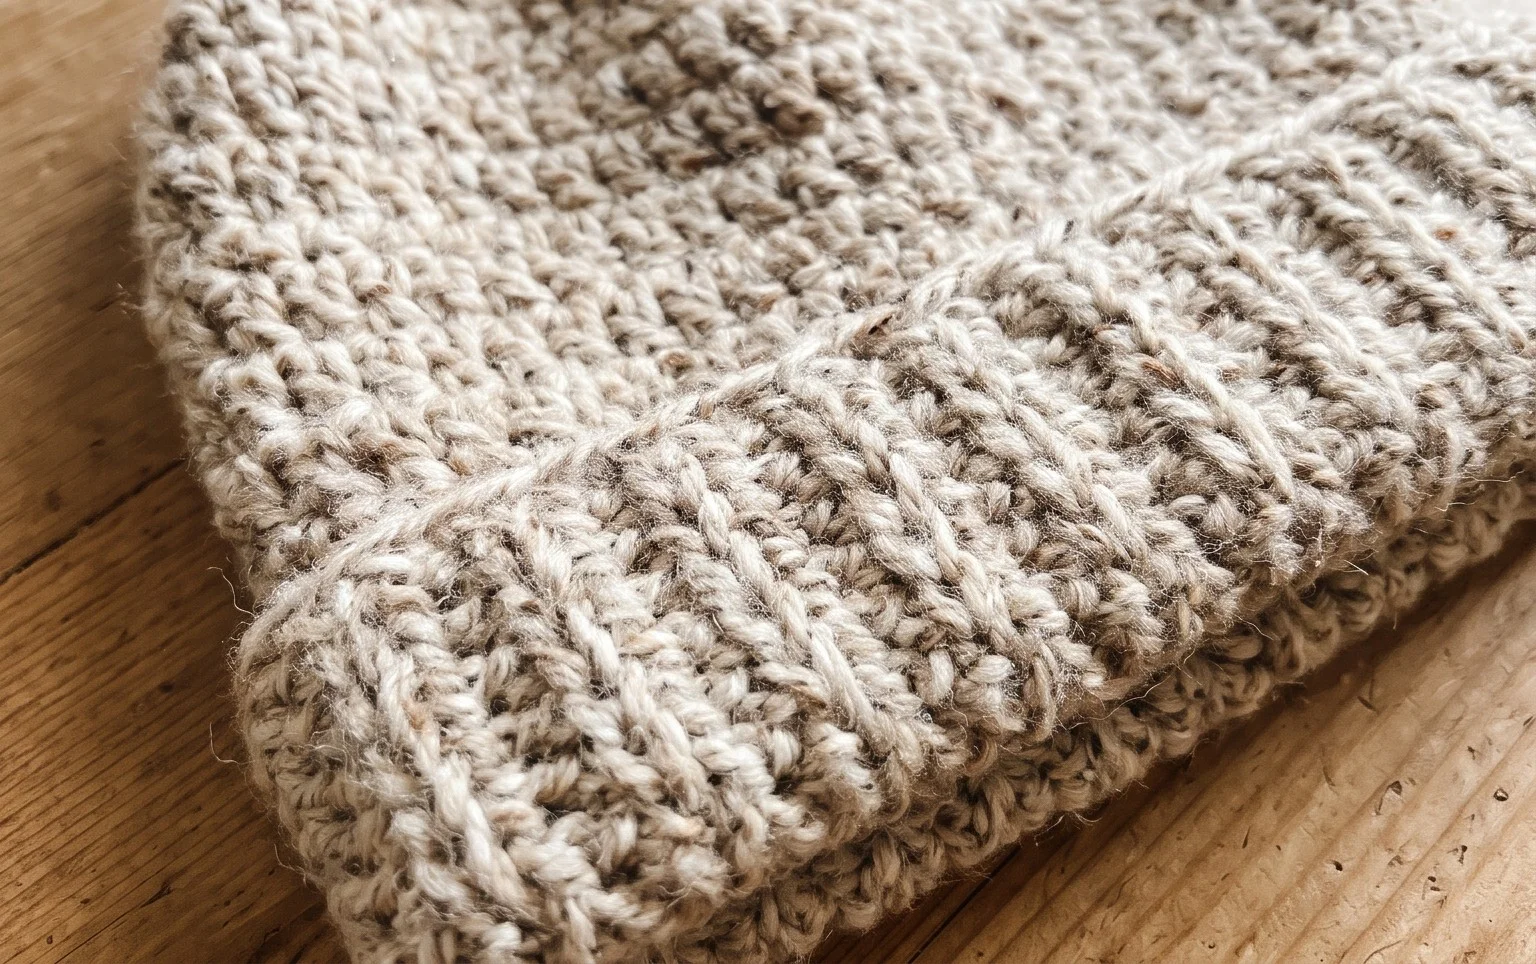
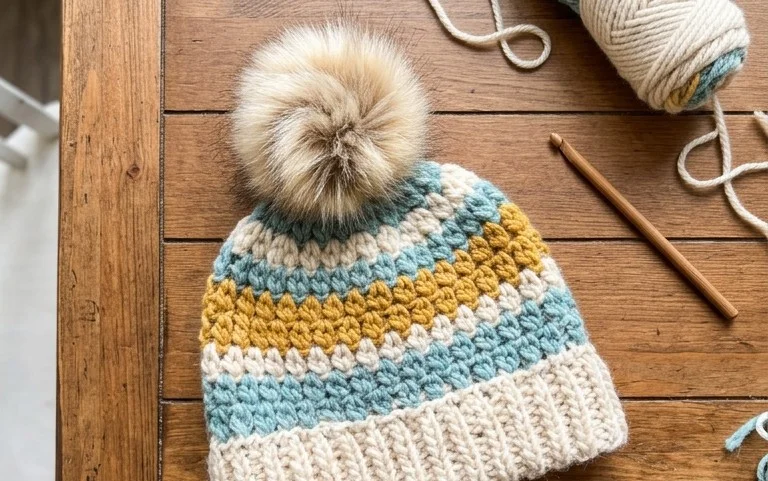
Your finished hat should feel soft and structured, providing plenty of warmth for chilly morning walks. You can change the final look by adding a large faux fur pompom to the crown or alternating yarn colors every four rows for a striped effect. Sharing photos of your work helps others find inspiration for their own projects. Please consider posting your results to social media so we can see your color combinations. Feel free to browse our collection of other free designs for more seasonal craft ideas.