Easy Crochet Granny Square Pattern for Beginners
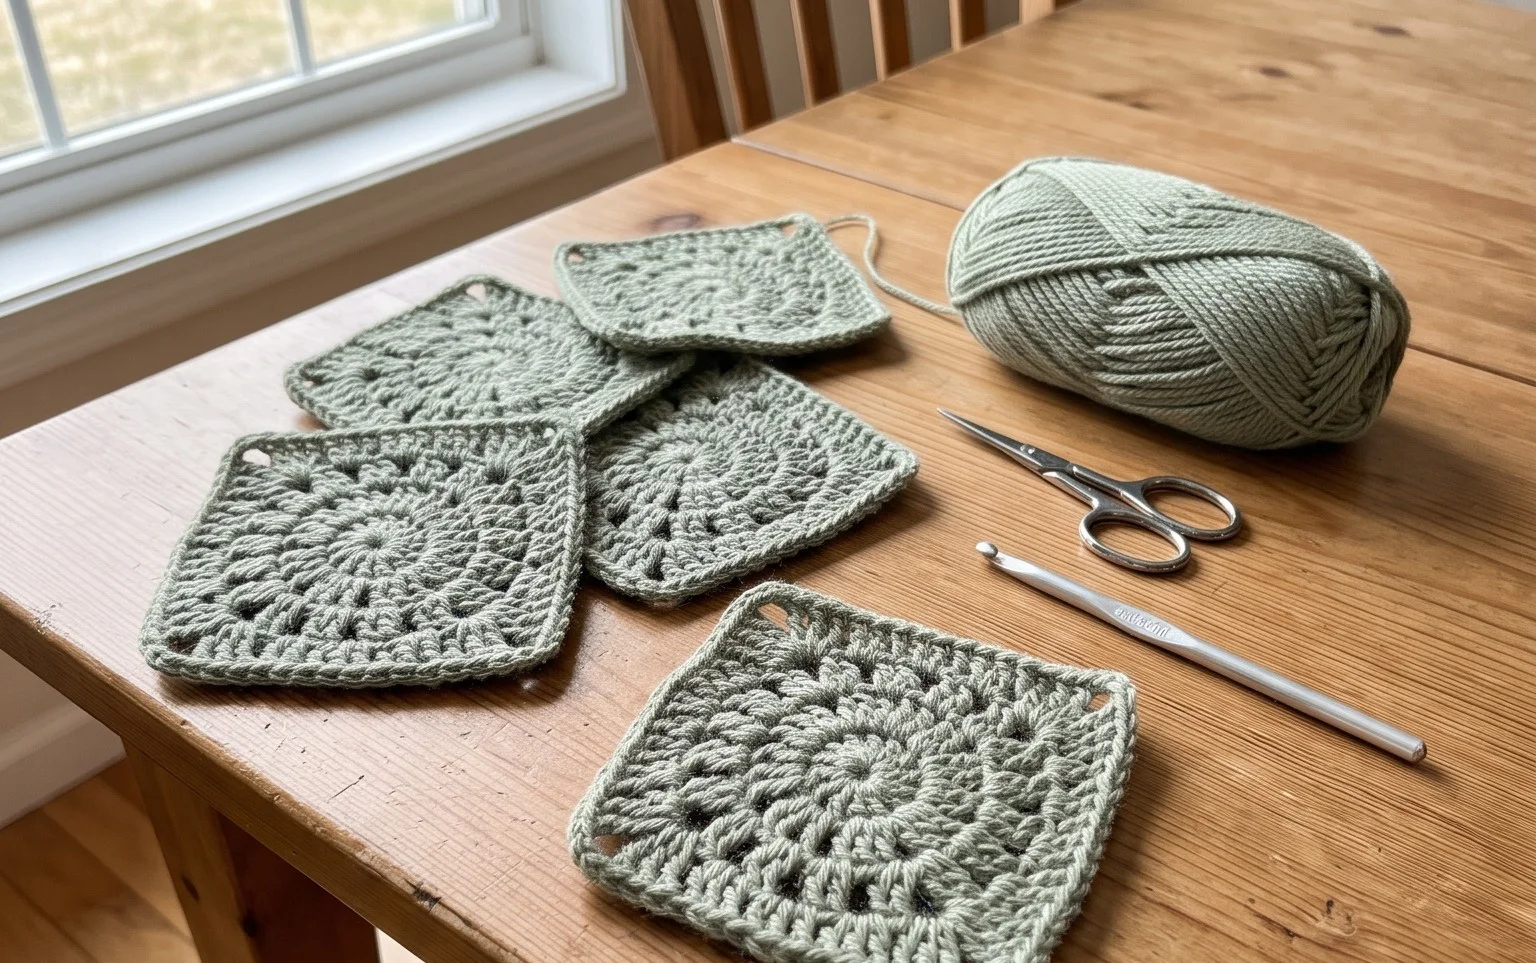
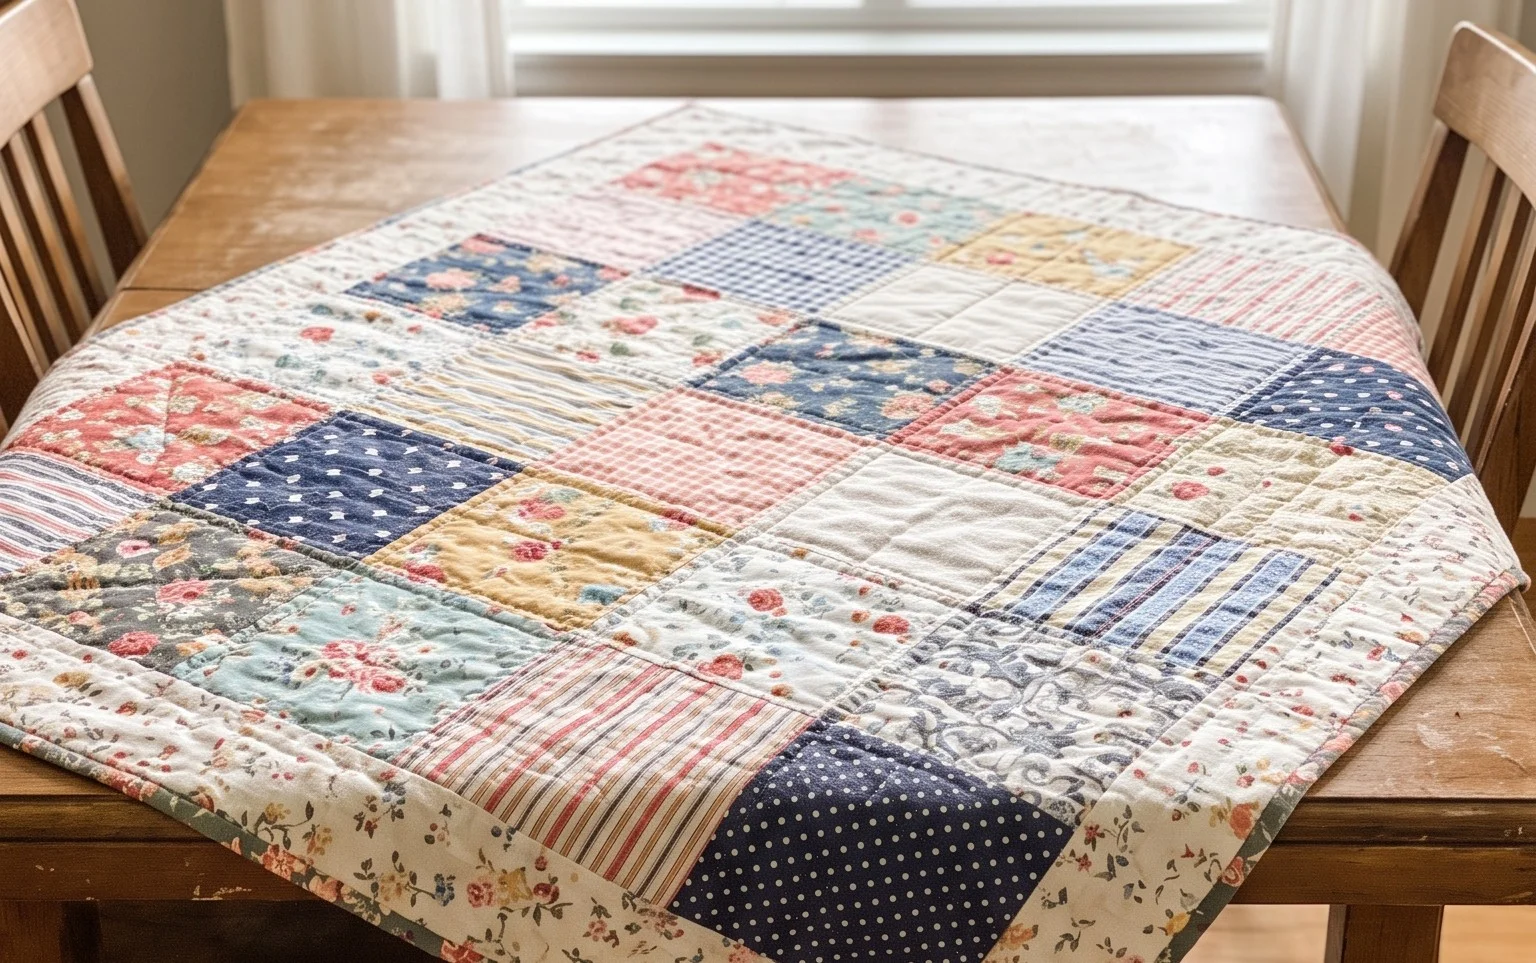
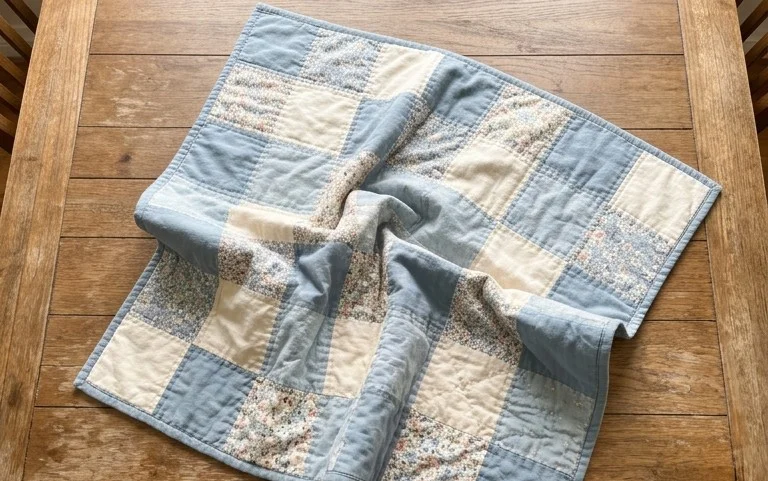
A stack of soft, freshly crocheted granny squares has a unique weight and texture that feels both nostalgic and modern. This design works up into a beautiful, lightweight baby quilt that keeps little ones cozy without being too heavy for everyday use. Whether you are a total beginner who just picked up a hook or a veteran maker clearing out your yarn stash, this project offers a meditative rhythm that makes the hours fly by. You will learn the classic technique for clean, sharp corners and tight clusters, providing you with the essential foundation for creating timeless blankets.
Why You’ll Love This Pattern
The Classic Crochet Granny Square is the foundation of countless heirloom blankets and accessories. You will appreciate how quickly this pattern works up once you memorize the sequence of clusters and chain spaces. It is a highly portable project that fits easily into a small project bag, making it ideal for working on during commutes or while waiting for appointments. Because it uses a small amount of yarn per square, it serves as an excellent way to use up leftover bits from larger projects. The resulting square has a sturdy, traditional structure that holds its shape well when joined into larger pieces.
I finally learned how to make these squares after years of avoiding them. The instructions are very clear and I had a whole stack finished by the end of the weekend.
— Sarah, hobbyist maker
Pattern Overview & Skill Level
- Skill Level: Beginner
- Approximate Time: 30 to 45 minutes per square
- Construction: Worked in joined rounds, starting from the center and moving outward
- Finished Dimensions: Approximately 5 inches by 5 inches using medium weight yarn
Materials & Supplies Needed
- Yarn: Worsted weight (#4) acrylic or wool blend, approximately 20 yards per square.
- Hook Size: 5.0 mm (US H-8) crochet hook.
- Notions: Tapestry needle for weaving in ends, sharp scissors.
- Safe yarn substitutions: You can use DK weight yarn with a 4.0 mm hook for a smaller, tighter square, or bulky weight yarn with a 6.0 mm hook for a larger, quicker square. Be aware that changing the yarn weight will significantly alter the final dimensions.
Stitch Guide & Abbreviations (US Terms)
- ch = chain
- sl st = slip stitch
- dc = double crochet
- st/sts = stitch/stitches
- sp = space
- Cluster = A group of 3 dc stitches worked into the same space.
- Magic Ring: A method of starting rounds by working stitches into an adjustable loop.
Step-by-Step Pattern Instructions
Granny Square Body
- Rnd 1: Start with a magic ring. Ch 3 (counts as first dc here and throughout), work 2 dc into the ring, ch 2, 3 dc, ch 2 3 times. Join with a sl st to the top of the beginning ch-3. (12 dc, 4 ch-2 spaces)
- Rnd 2: Sl st into the next dc and into the corner ch-2 sp. Ch 3, 2 dc, ch 2, 3 dc all into the same corner sp. Ch 1, skip 3 dc, (3 dc, ch 2, 3 dc) into the next ch-2 corner sp. Repeat from * to * 2 more times. Ch 1, join with a sl st to the top of the beginning ch-3. (24 dc, 4 ch-1 spaces, 4 ch-2 spaces)
- Rnd 3: Sl st into the next 2 dc and into the corner sp. Ch 3, 2 dc, ch 2, 3 dc in the same corner sp. Ch 1, 3 dc into the next ch-1 sp, ch 1, (3 dc, ch 2, 3 dc) in the next corner sp. Repeat from * to * 2 more times. Ch 1, 3 dc into the last ch-1 sp, ch 1, join with a sl st to the top of the beginning ch-3. (36 dc, 8 ch-1 spaces, 4 ch-2 spaces)
- Rnd 4: Sl st into the next 2 dc and into the corner sp. Ch 3, 2 dc, ch 2, 3 dc in the same corner sp. Ch 1, (3 dc in the next ch-1 sp, ch 1) across to the next corner, (3 dc, ch 2, 3 dc) in the corner sp. Repeat from * to * 2 more times. Ch 1, 3 dc in each ch-1 sp with a ch-1 between, join with a sl st to the beginning ch-3. (48 dc, 12 ch-1 spaces, 4 ch-2 spaces)
Finishing
Fasten off the yarn, leaving a 6-inch tail. Use your tapestry needle to weave the end through the back of the stitches to secure it. Repeat this process for the starting yarn tail at the center of the square.
Care & Washing Instructions
- Hand wash in cool water using a mild wool-safe detergent to preserve fiber integrity.
- Lay the square flat on a clean towel to air dry, reshaping it into a perfect square while damp.
- Avoid using a tumble dryer, as high heat can shrink acrylic fibers or felt natural wool fibers.
Pro Tips & Common Mistakes to Avoid
Maintain consistent tension throughout the rounds to ensure your square remains flat rather than cupping or rippling. If the square ripples, your tension is likely too loose; if it cups, your tension is too tight. Place a removable stitch marker in the first stitch of every round to avoid losing your place when joining. Weave your yarn tails in at least three different directions through the back loops of the stitches to ensure they do not come undone over time. If you wish to make a larger square, simply repeat the pattern of Round 4, adding one more (3 dc, ch 1) cluster along each side for every additional round you work.
Frequently Asked Questions
Can I use a different hook size than recommended?
Yes, you can adjust the hook size to suit your personal tension. A smaller hook will yield a stiffer, smaller square, while a larger hook will create a looser, drape-heavy fabric.
How do I join these squares together for a blanket?
You can join the finished squares using a whip stitch or a single crochet seam. Both methods provide a secure edge that helps the blanket maintain its structure during use.
Is this pattern suitable for complete beginners?
This pattern is ideal for those who have mastered the basic chain and double crochet stitches. The repetitive nature of the clusters makes it a low-stress way to practice stitch placement.
Am I allowed to sell blankets made from this pattern?
You may sell finished items made from this pattern provided you give credit to the original designer. Always check the specific copyright terms associated with the pattern source if you intend to produce items for commercial sale in large quantities.
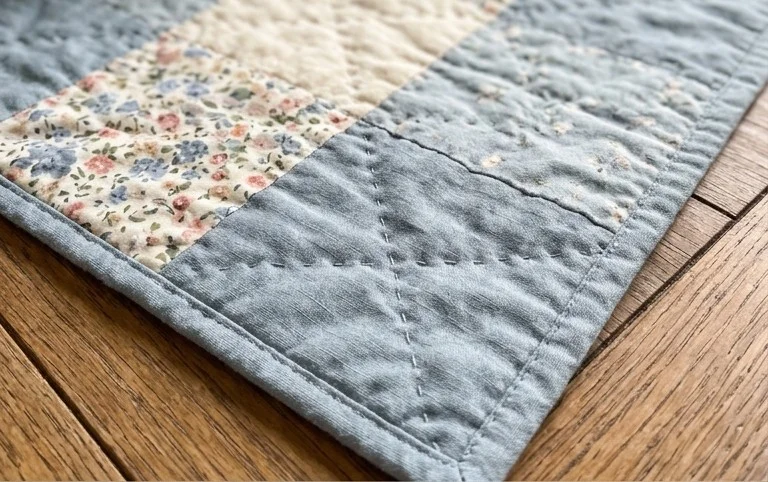
Your finished blanket serves as a soft, tangible memory of the hours you spent crafting with patience and care. You can customize the look by using a solid color for a modern aesthetic or alternating shades in every round to create a bold, graphic impact. Share a photo of your progress on social media to see how others interpreted this pattern. Browse the rest of our blog for more free crochet designs that help you build your skills and fill your home with handmade warmth.