Easy Crochet Coasters: Free Pattern for Beginners
These thick cotton coasters feature a firm, circular construction that sits completely flat on your side table, providing a stable base for your morning coffee or evening tea. Designed specifically for beginners, this project relies on basic stitches to build a dense fabric that effectively catches moisture without soaking through to your furniture. You will appreciate how quickly these come together while sitting on your couch during a quiet afternoon. Mastering the simple spiral technique ensures you can produce a uniform set for your home or as a thoughtful housewarming gift for a friend. You will find that these small circles are satisfying to finish in just one sitting.
Why You’ll Love This Pattern
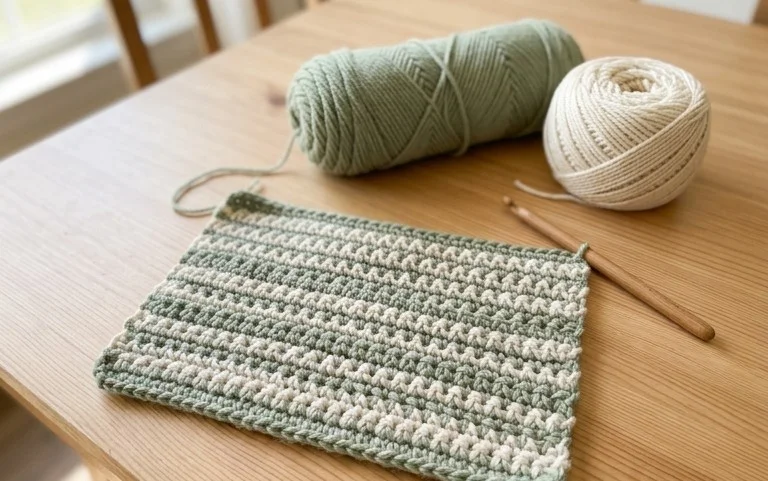
This beginner-friendly crochet coaster pattern uses a simple spiral construction, making it an ideal choice for using up small amounts of leftover cotton yarn. Because the project works up in just a few minutes, you can easily crochet a full set of four while watching a single episode of your favorite show. The tight stitch gauge creates a dense fabric that absorbs condensation from cold glasses effectively, protecting your furniture from water rings. You will find that the rhythmic nature of the circular increase makes this an incredibly relaxing project to keep your hands busy without needing to follow complex charts.
I managed to finish a whole set of six coasters in one afternoon using some spare kitchen cotton. They lay perfectly flat on my coffee table and the instructions were very easy to follow even for a total beginner.
— Sarah, hobbyist crafter
Pattern Overview & Skill Level
- Skill Level: Beginner
- Approximate Time: 15 minutes per coaster
- Construction: Continuous rounds worked in a spiral
- Finished Dimensions: 4 inches (10 cm) in diameter
Materials & Supplies Needed
- Yarn: Worsted weight (#4) 100% cotton yarn, approximately 15 yards per coaster. Cotton is chosen for its absorbency and heat resistance.
- Hook Size: 5.0 mm (H-8) crochet hook.
- Notions: Tapestry needle for weaving in ends, one stitch marker to track the start of rounds.
- Safe yarn substitutions: Acrylic yarn may be substituted but will be less absorbent and may melt if used for hot drinks. Using a smaller weight yarn like DK weight will result in a smaller coaster unless you add extra increase rounds.
Stitch Guide & Abbreviations (US Terms)
- MR: Magic Ring. A technique to start rounds by crocheting into an adjustable loop.
- ch: Chain.
- sc: Single crochet. Insert hook into stitch, yarn over, pull up a loop, yarn over, pull through two loops.
- inc: Increase. Work 2 sc into the same stitch.
- sl st: Slip stitch. Insert hook into stitch, yarn over, pull through both the stitch and the loop on your hook.
- st/sts: Stitch/stitches.
Step-by-Step Pattern Instructions
Coaster Body
The coaster is worked in a continuous spiral. Place your stitch marker in the first stitch of each round and move it up as you progress to ensure you keep an accurate count.
- Rnd 1: Work 6 sc into a MR. (6 sts)
- Rnd 2: Work 2 sc in each st around. (12 sts)
- Rnd 3: *1 sc in next st, inc in next st; repeat from * around. (18 sts)
- Rnd 4: *1 sc in each of next 2 sts, inc in next st; repeat from * around. (24 sts)
- Rnd 5: *1 sc in each of next 3 sts, inc in next st; repeat from * around. (30 sts)
- Rnd 6: *1 sc in each of next 4 sts, inc in next st; repeat from * around. (36 sts)
Finishing
- After completing Rnd 6, work 1 sl st into the next stitch to level off the edge of the spiral.
- Cut the yarn, leaving a 6-inch tail.
- Pull the yarn tail completely through the loop on the hook.
- Use your tapestry needle to weave the tail through the back loops of the final round to secure it, then trim any excess yarn.
Care & Washing Instructions
- Machine wash your cotton coasters on a gentle cycle in warm water.
- Lay the coasters flat on a clean towel to air dry, ensuring they are shaped into a perfect circle while damp.
- If the coasters become misshapen over time, dampen them lightly with water and press them under a heavy book until dry to restore their flat shape.
Pro Tips & Common Mistakes to Avoid
Maintaining consistent tension is essential for a flat coaster; if your stitches are too tight, the coaster will cup or ripple. Always use a stitch marker at the start of each round to avoid losing your place, as spiral patterns can be difficult to track visually. To weave in ends invisibly, work your tapestry needle under the back loops of the stitches on the underside of the piece rather than going through the center of the stitches. You can adjust the size of the coaster by adding more or fewer increase rounds, but keep in mind that adding rounds will require more yarn and will make the coaster larger than 4 inches.
Frequently Asked Questions
Can I use a different yarn weight for this project?
Yes, you can use DK or bulky weight yarn, but your finished coaster will be smaller or larger accordingly. If you change the weight, ensure you adjust your hook size to match the yarn label for the best density.
Why is my coaster curling into a bowl shape?
Curling usually happens if your tension is too tight or if your hook size is too small for the yarn weight. Try loosening your stitches or switching to a hook one size larger to allow the fabric to lay flat.
Can I sell the finished coasters I make from this pattern?
You are welcome to sell physical items made from this pattern, provided you credit the pattern designer. Do not sell or redistribute the written pattern itself.
Is this pattern suitable for someone who has never held a crochet hook?
This is a great beginner project because it focuses on the most basic stitch, the single crochet. You will need to learn how to create a magic ring and count rounds to be successful.
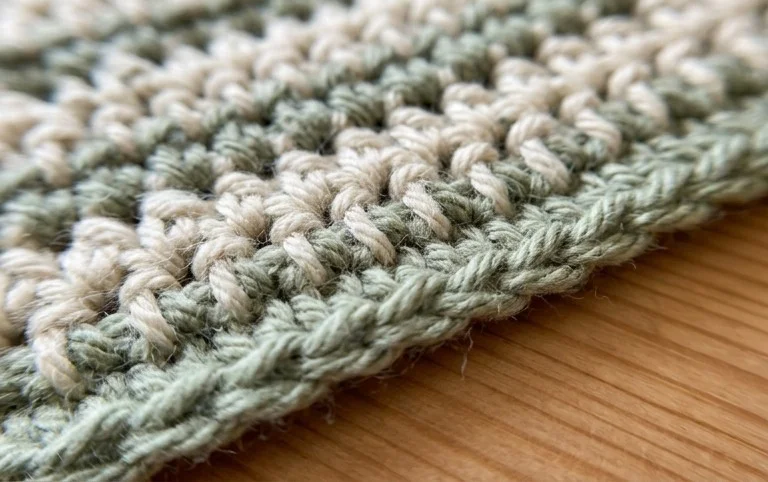
Your finished coasters bring a clean, functional touch to your home and protect wood surfaces from unwanted condensation marks. You can personalize this set by switching to a variegated cotton yarn for a playful look or working the final round in a contrasting color to add a bold border. Please share a photo of your handmade set on social media to inspire others in our crafting community. Visit our blog archives to find more simple projects that build your skills and help you organize your yarn stash today.