Easy Crochet Edgings and Blanket Borders: Free Patterns
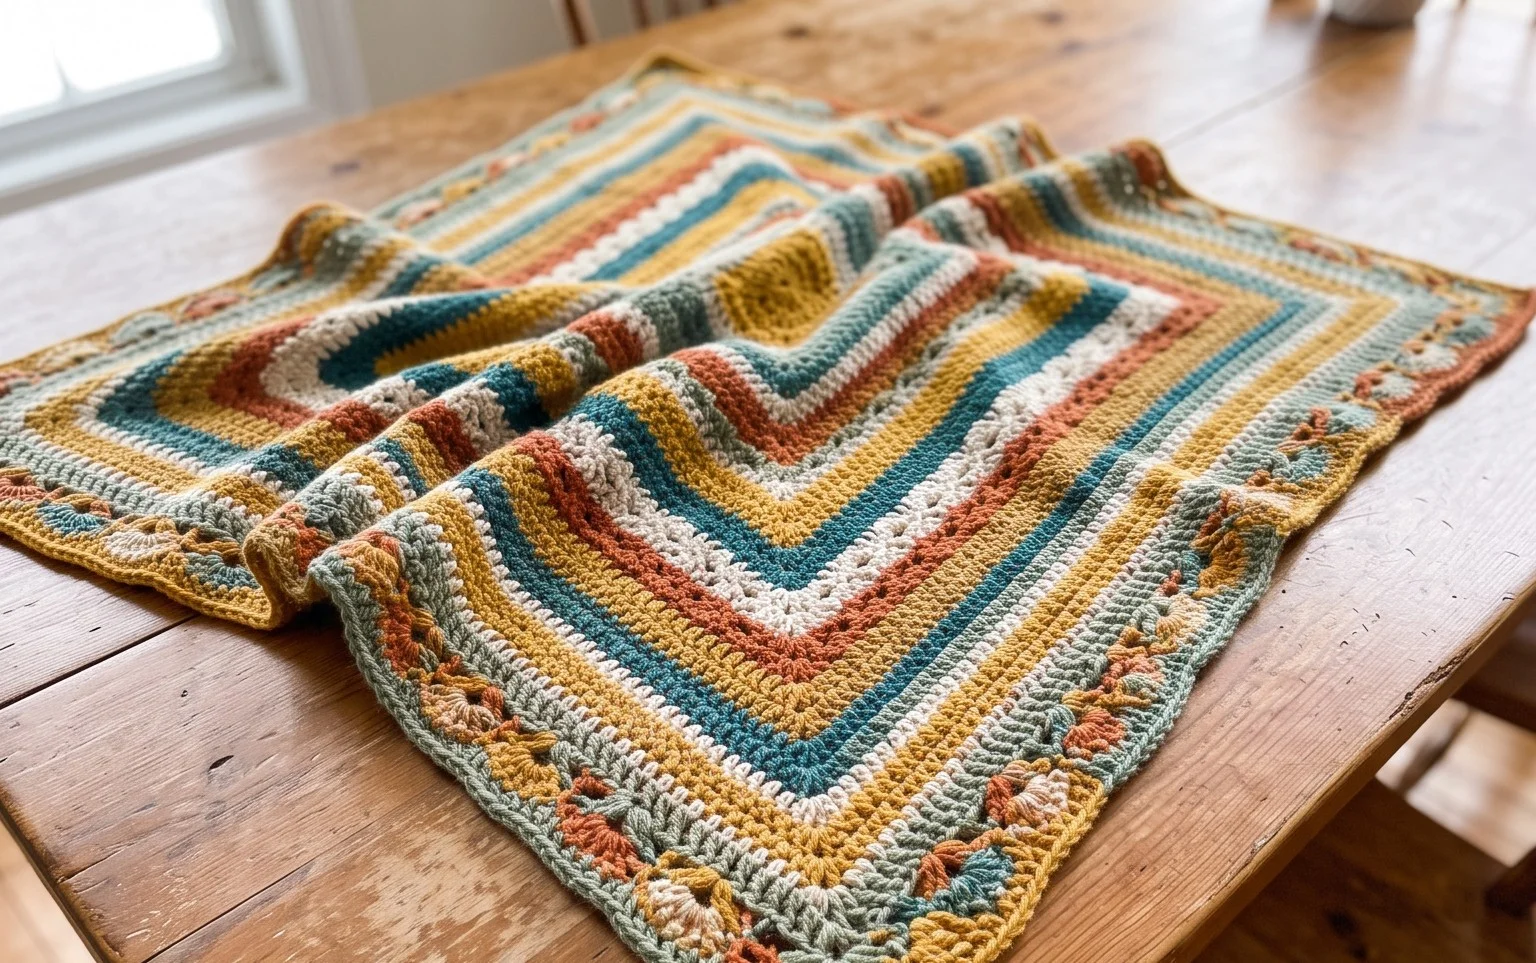
A simple row of shells or a sturdy picot border transforms a plain afghan into a finished heirloom that feels complete and intentional. These edges provide a weight that helps blankets drape better over a sofa or across a bed. Beginners often find that adding a border is the fastest way to build confidence with stitch tension while learning how to turn corners without puckering or gaps. You will work through simple techniques like single crochet spikes and cluster stitches that add visual interest to any project. These borders make thoughtful, quick gifts for friends who appreciate handmade details in their home.
Why You’ll Love This Pattern
This beginner-friendly crochet coaster pattern uses a simple spiral construction, making it an ideal project for practicing basic circular increases without the distraction of complex color changes. Because it works up in under 30 minutes, it is the perfect solution for utilizing leftover cotton yarn from larger projects. The resulting fabric is dense and heat-resistant, providing a practical surface for mugs or glasses while protecting your furniture from condensation and spills. The repetitive nature of the stitches creates a meditative flow that allows you to build muscle memory while creating a set of functional home decor pieces.
I managed to finish a full set of four coasters in one evening. The instructions were easy to follow and the final size is exactly right for my favorite coffee mug.
— Sarah, hobbyist crafter
Pattern Overview & Skill Level
- Skill Level: Beginner
- Approximate Time: 20-30 minutes per coaster
- Construction: Working in continuous rounds starting from a magic ring
- Finished Dimensions & Sizing: 4 inches in diameter
Materials & Supplies Needed
- Yarn: Worsted weight (#4) 100% cotton yarn, approximately 15 yards per coaster. Cotton is preferred for its heat resistance and absorbency.
- Hook Size: 5.0 mm (H-8) crochet hook.
- Notions: Tapestry needle for weaving in ends, one stitch marker to track the start of rounds.
- Safe Yarn Substitutions: Acrylic yarn can be used for decorative purposes but is not recommended for hot drinks as it may melt or lose its shape under high heat. Using a lighter weight yarn will result in a smaller coaster, while a heavier yarn will require adjusting the number of rounds to maintain a 4-inch size.
Stitch Guide & Abbreviations (US Terms)
- MR: Magic ring (or chain 3 and join with sl st to form a ring)
- ch: Chain
- sc: Single crochet
- inc: Increase (2 single crochet stitches in the same stitch)
- sl st: Slip stitch
- st(s): Stitch(es)
- FO: Fasten off
Step-by-Step Pattern Instructions
Coaster Body
Work all rounds in a continuous spiral. Place a stitch marker in the first stitch of each round and move it up as you progress to keep your place.
- Rnd 1: Start 6 sc into a magic ring. Pull the ring closed tightly. (6 sts)
- Rnd 2: 2 sc in each st around. (12 sts)
- Rnd 3: (1 sc in next st, 2 sc in next st) repeat 6 times. (18 sts)
- Rnd 4: (1 sc in each of next 2 sts, 2 sc in next st) repeat 6 times. (24 sts)
- Rnd 5: (1 sc in each of next 3 sts, 2 sc in next st) repeat 6 times. (30 sts)
- Rnd 6: (1 sc in each of next 4 sts, 2 sc in next st) repeat 6 times. (36 sts)
- Rnd 7: (1 sc in each of next 5 sts, 2 sc in next st) repeat 6 times. (42 sts)
Finishing
After completing Round 7, perform one slip stitch into the next stitch to create a smooth edge. Cut the yarn, leaving a 6-inch tail. Pull the tail through the final loop and use your tapestry needle to weave the end securely into the back of the work. Trim any excess yarn close to the fabric.
Care & Washing Instructions
- Machine wash your cotton coasters on a gentle cycle in cool water to prevent shrinking.
- Lay the coasters flat on a clean towel to dry, pressing them into a perfect circle while damp to ensure they hold their shape.
- Avoid using fabric softeners, as they can reduce the natural absorbency of the cotton fibers.
Pro Tips & Common Mistakes to Avoid
Maintain consistent tension throughout the project by keeping your yarn tension steady. If you pull too tightly, the coaster will cup inward; if your tension is too loose, the fabric will ripple. Use a stitch marker at the start of every round to ensure your counts remain accurate. When weaving in your ends, run the tapestry needle through the base of the stitches on the back side of the coaster to keep the repair invisible. If you wish to make a larger coaster, continue the increase pattern by adding one additional single crochet between each increase in every subsequent round.
Frequently Asked Questions
Can I use a different yarn weight for this pattern?
Yes, but it will change the finished size. A lighter yarn will result in a smaller coaster, while a bulkier yarn will produce a larger one. You may need to add or remove rounds to achieve the standard 4-inch diameter.
Is this pattern suitable for someone who has never crocheted before?
Absolutely. This pattern relies entirely on the single crochet stitch and simple increases. It is an excellent way to learn how to work in continuous rounds without having to worry about complex stitch patterns.
How do I prevent the coaster from curling at the edges?
Curling usually happens if your tension is too tight or if the stitch count is incorrect. Ensure you are working the correct number of increases per round. If it still curls, blocking the finished piece by dampening it and pinning it flat until dry will help it lay completely level.
Am I allowed to sell coasters made from this pattern?
You are welcome to sell finished items created from this design. Please credit the original pattern designer when listing your items online or at local craft fairs.
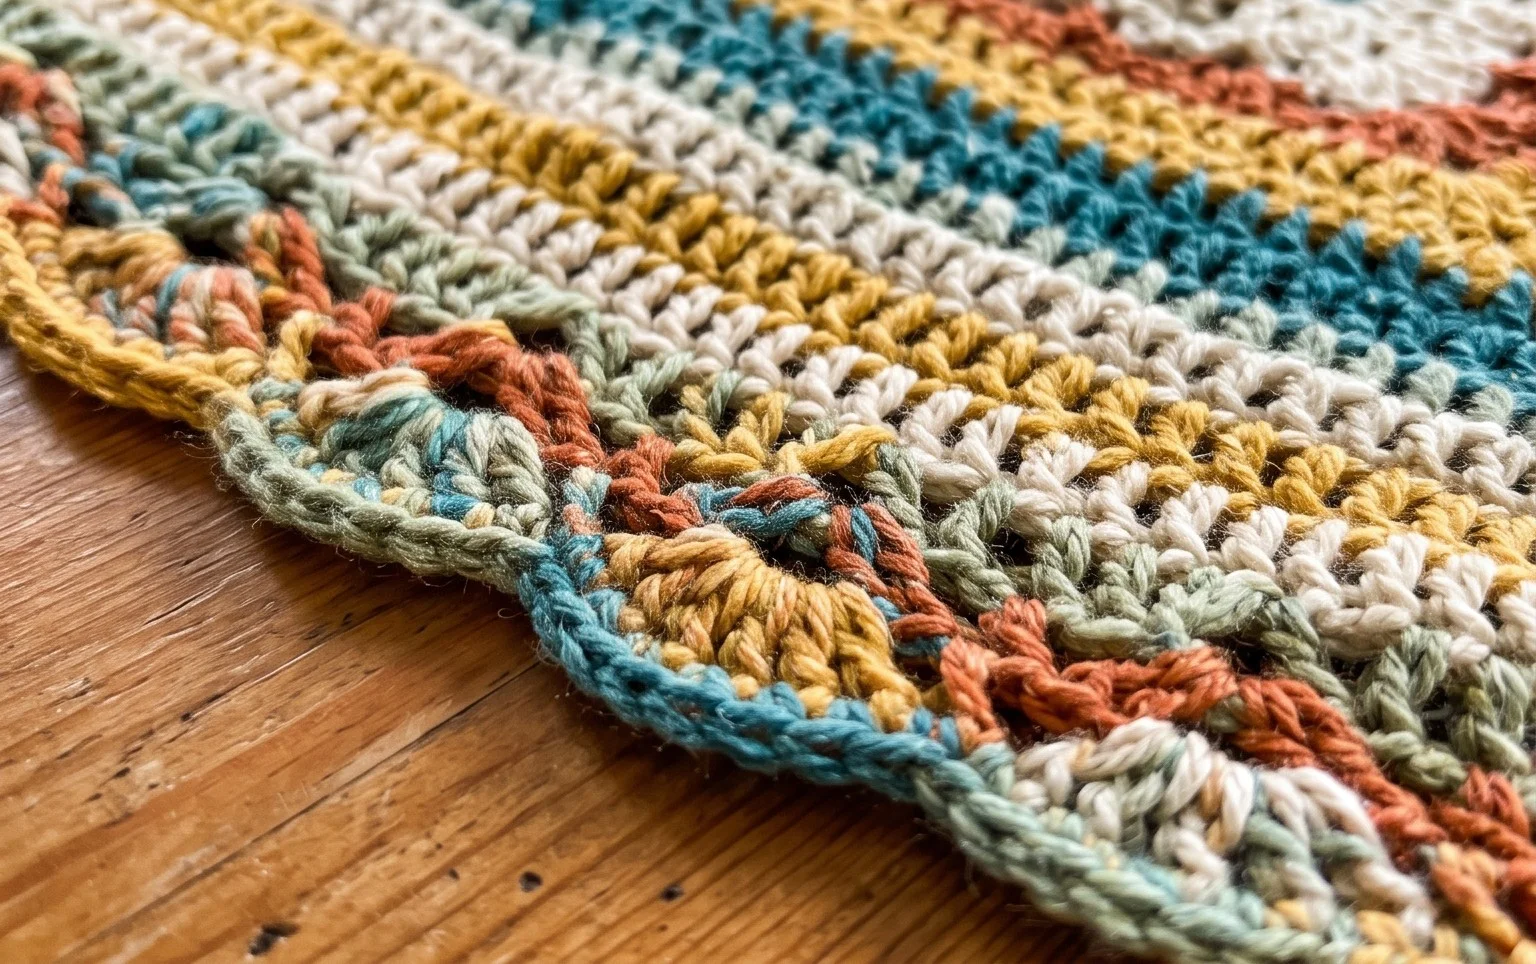
Your finished border adds a polished look that protects your blanket edges from everyday wear while softening the overall shape. Try using a contrasting color of yarn for the final round to make the pattern stand out even more against the main body of your work. Please post a picture of your finished piece on social media so others can see how you customized your design. You can find more free patterns and tutorials for your next home project by clicking through the links on the main blog page.