Easy Colorful Crochet Scarves: Free Step-by-Step Patterns
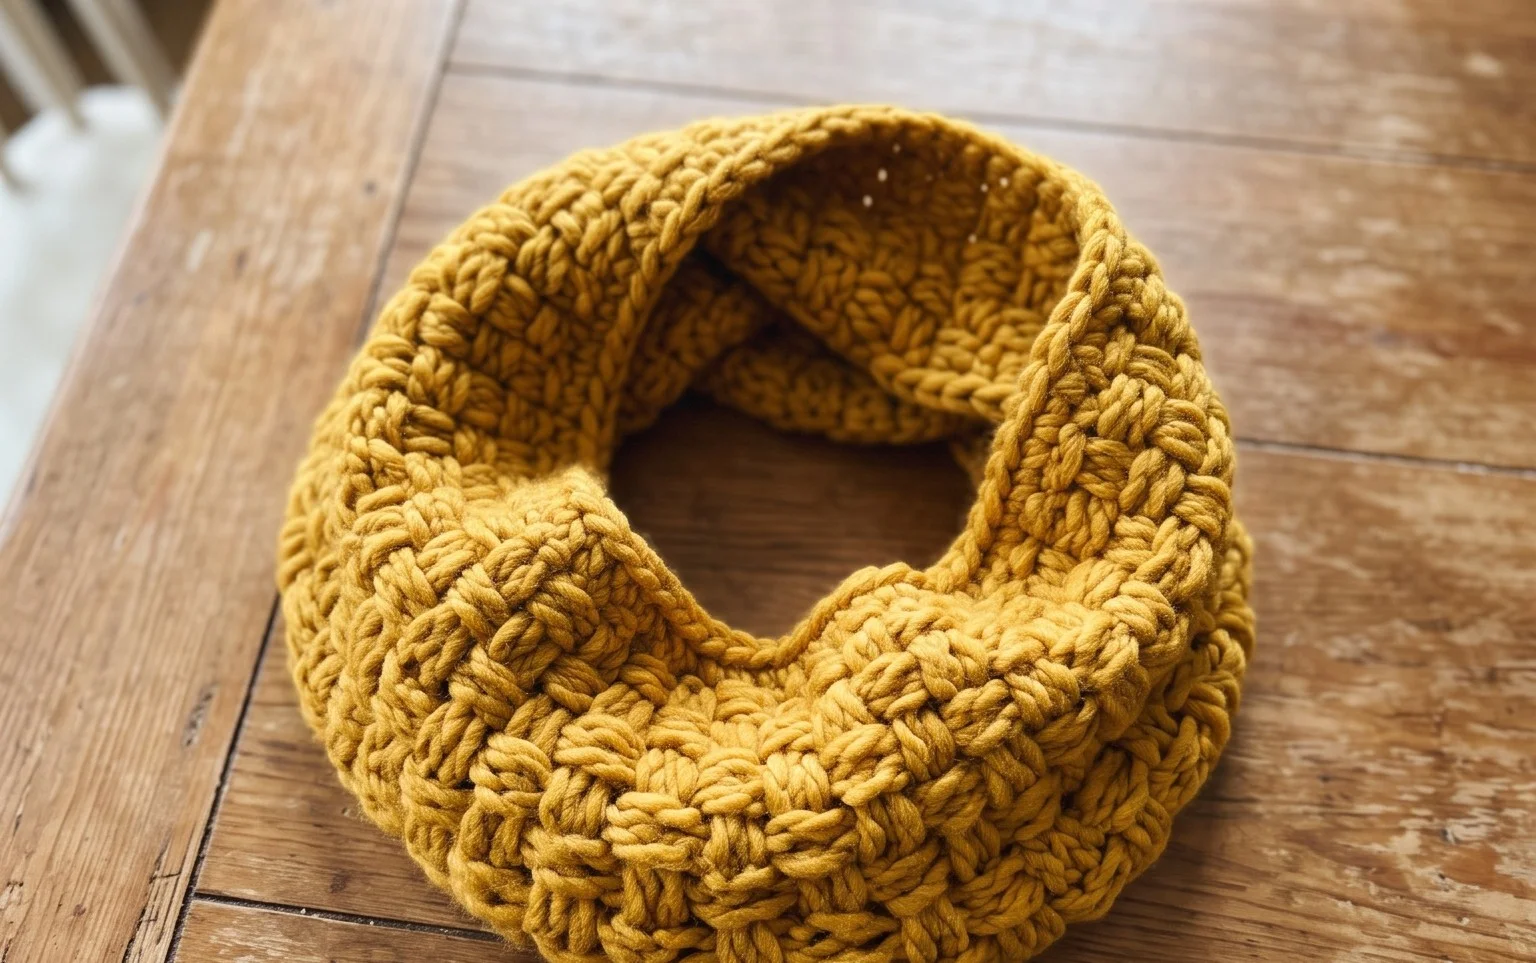
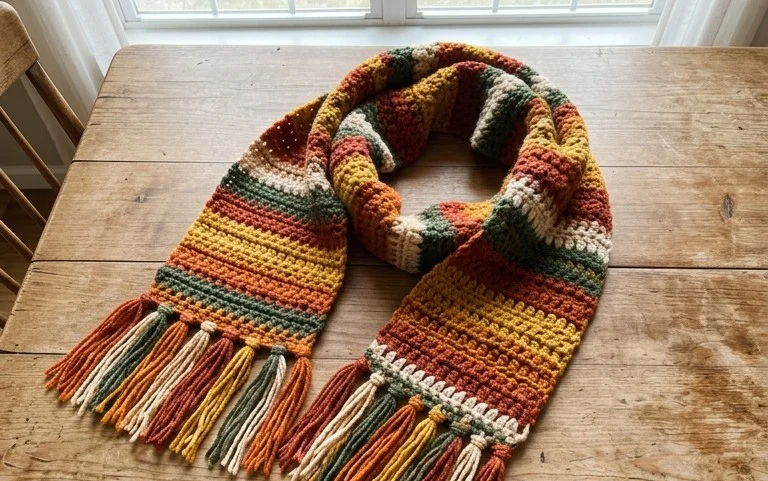
A thick wool scarf keeps the biting wind away on gray mornings when the frost first touches the ground. These accessories bring warmth and personality to a simple winter coat through bold stripes and tactile textures. Beginners appreciate how these projects build confidence through repeated rows, while those who have been crocheting for years enjoy the mindless rhythm of working up a quick gift. You will practice managing color changes during long stretches of yarn work and learn how to create crisp, clean edges that define your finished piece. This collection focuses on simple construction methods that yield professional results.
Why You’ll Love This Pattern
The Classic Crochet Bucket Hat is a project that balances utility with style. It works up in a single evening using basic stitches, making it a reliable choice for last-minute gifts or a quick weekend project. You only need a single skein of cotton yarn, which keeps the cost low and your stash managed. The structure of the hat provides excellent sun protection, and the design is forgiving enough for those still mastering tension control.
I finished this hat in under four hours using a cotton blend. The instructions for the increase rounds were easy to follow and the shape sits perfectly on my head without drooping.
— Sarah, intermediate crocheter
Pattern Overview & Skill Level
- Skill Level: Advanced Beginner
- Approximate Time: 3 to 5 hours
- Construction: Worked in continuous rounds from the crown down to the brim
- Finished Dimensions: 22-inch circumference, fits most adult heads
Materials & Supplies Needed
- Yarn: Worsted weight (#4) cotton yarn, approximately 180 yards. Cotton is preferred for its breathability and ability to hold shape.
- Hook Size: 5.0 mm (H-8) crochet hook.
- Notions: Stitch marker to track round starts, tapestry needle for weaving in ends, and sharp scissors.
- Yarn Substitutions: Acrylic yarn can be used for a softer feel, but note that it may stretch more over time and offer less sun protection. Avoid wool, as it is too warm for a summer bucket hat.
Stitch Guide & Abbreviations (US Terms)
- MR: Magic ring
- ch: Chain
- sc: Single crochet
- inc: Increase (work 2 sc in the same stitch)
- sl st: Slip stitch
- st(s): Stitch(es)
- BLO: Back loop only. Insert hook only through the back loop of the stitch instead of both loops.
Step-by-Step Pattern Instructions
Crown and Body
- Rnd 1: Work 8 sc into a MR. Pull tail tight to close the ring. (8 sts)
- Rnd 2: Work 2 sc in each st around. (16 sts)
- Rnd 3: [1 sc in next st, inc in next st] repeat 8 times. (24 sts)
- Rnd 4: [1 sc in next 2 sts, inc in next st] repeat 8 times. (32 sts)
- Rnd 5: [1 sc in next 3 sts, inc in next st] repeat 8 times. (40 sts)
- Rnd 6: [1 sc in next 4 sts, inc in next st] repeat 8 times. (48 sts)
- Rnd 7: [1 sc in next 5 sts, inc in next st] repeat 8 times. (56 sts)
- Rnd 8: [1 sc in next 6 sts, inc in next st] repeat 8 times. (64 sts)
- Rnd 9: Work 1 sc in each st around in BLO. (64 sts)
- Rnds 10-20: Work 1 sc in each st around. (64 sts)
Brim
- Rnd 21: [1 sc in next 7 sts, inc in next st] repeat 8 times. (72 sts)
- Rnd 22: [1 sc in next 8 sts, inc in next st] repeat 8 times. (80 sts)
- Rnd 23: [1 sc in next 9 sts, inc in next st] repeat 8 times. (88 sts)
- Rnd 24: Work 1 sc in each st around. (88 sts)
- Finishing: Sl st to the next stitch to smooth the edge. Fasten off and weave in all ends securely on the inside of the hat.
Care & Washing Instructions
- Hand wash in cool water with mild detergent to prevent the cotton fibers from shrinking.
- Gently squeeze out excess water with a towel; do not wring or twist the fabric, which can distort the stitch definition.
- Lay flat in the shade to dry completely, reshaping the brim while it is still damp.
Pro Tips & Common Mistakes to Avoid
- Always use a stitch marker at the beginning of each round. Since you are working in a continuous spiral, it is easy to lose track of where the round ends.
- Keep your tension consistent throughout the body of the hat. If the stitches are too loose, the hat will not have the structure required for a bucket hat shape.
- When weaving in ends, pass the needle through the back of the stitches for at least two inches to ensure the tail does not work its way out after repeated washing.
- If you need to resize the hat, add or subtract stitches in the crown increase rounds (Rnds 3-8). Increasing by 8 stitches per round maintains the flat circle shape required for the top of the hat.
Frequently Asked Questions
Can I use a different weight of yarn?
You can use a lighter or heavier yarn, but it will significantly change the size of the finished hat. If you change the yarn weight, you must adjust the hook size and the number of increase rounds to match your desired head circumference.
Is this hat adjustable if it feels too tight?
Yes, you can add an extra round of increases after Rnd 8 to widen the crown, or add more rounds to the body if you prefer a deeper fit. Just ensure that the total stitch count at the end of the body is a multiple of 8 to keep the brim increases mathematically consistent.
Is this pattern suitable for complete beginners?
While this is an advanced beginner project, a complete beginner should be comfortable working in a magic ring and maintaining a consistent gauge before starting. Practice basic single crochet in rounds on a flat coaster first if you struggle with the crown section.
Can I sell the hats I make from this pattern?
Please check the copyright information provided on the original source link or contact the designer directly. Most designers allow the sale of finished items on a small scale, but you should credit the original pattern creator in your shop listings.
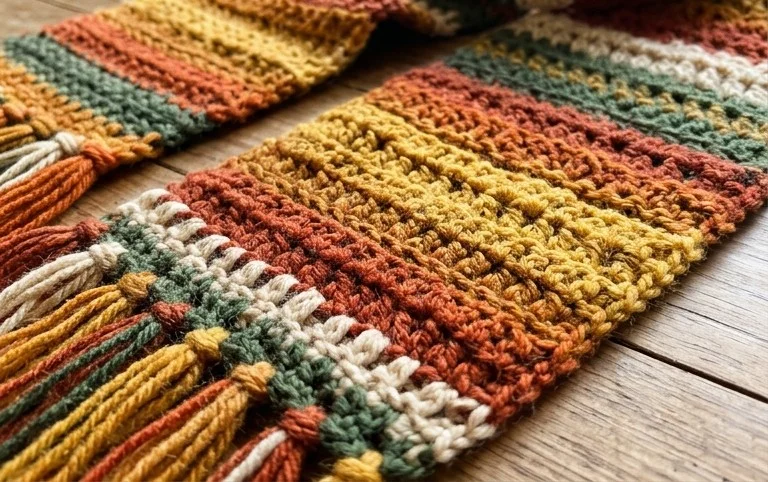
Your finished scarf will provide comfort through every cold month ahead, especially when wrapped twice for extra insulation against the freezing air. You can customize the look by using a bulky yarn for a faster, chunky drape or swapping the bright tones for a more muted, monochromatic palette. Please share a photo of your work on Instagram or Pinterest to show off your specific color choices. Feel free to browse the rest of the blog for more accessible designs that help you finish your yarn stash before the next season begins.