107 Free Stash-Buster Crochet Patterns to Use Leftover Yarn
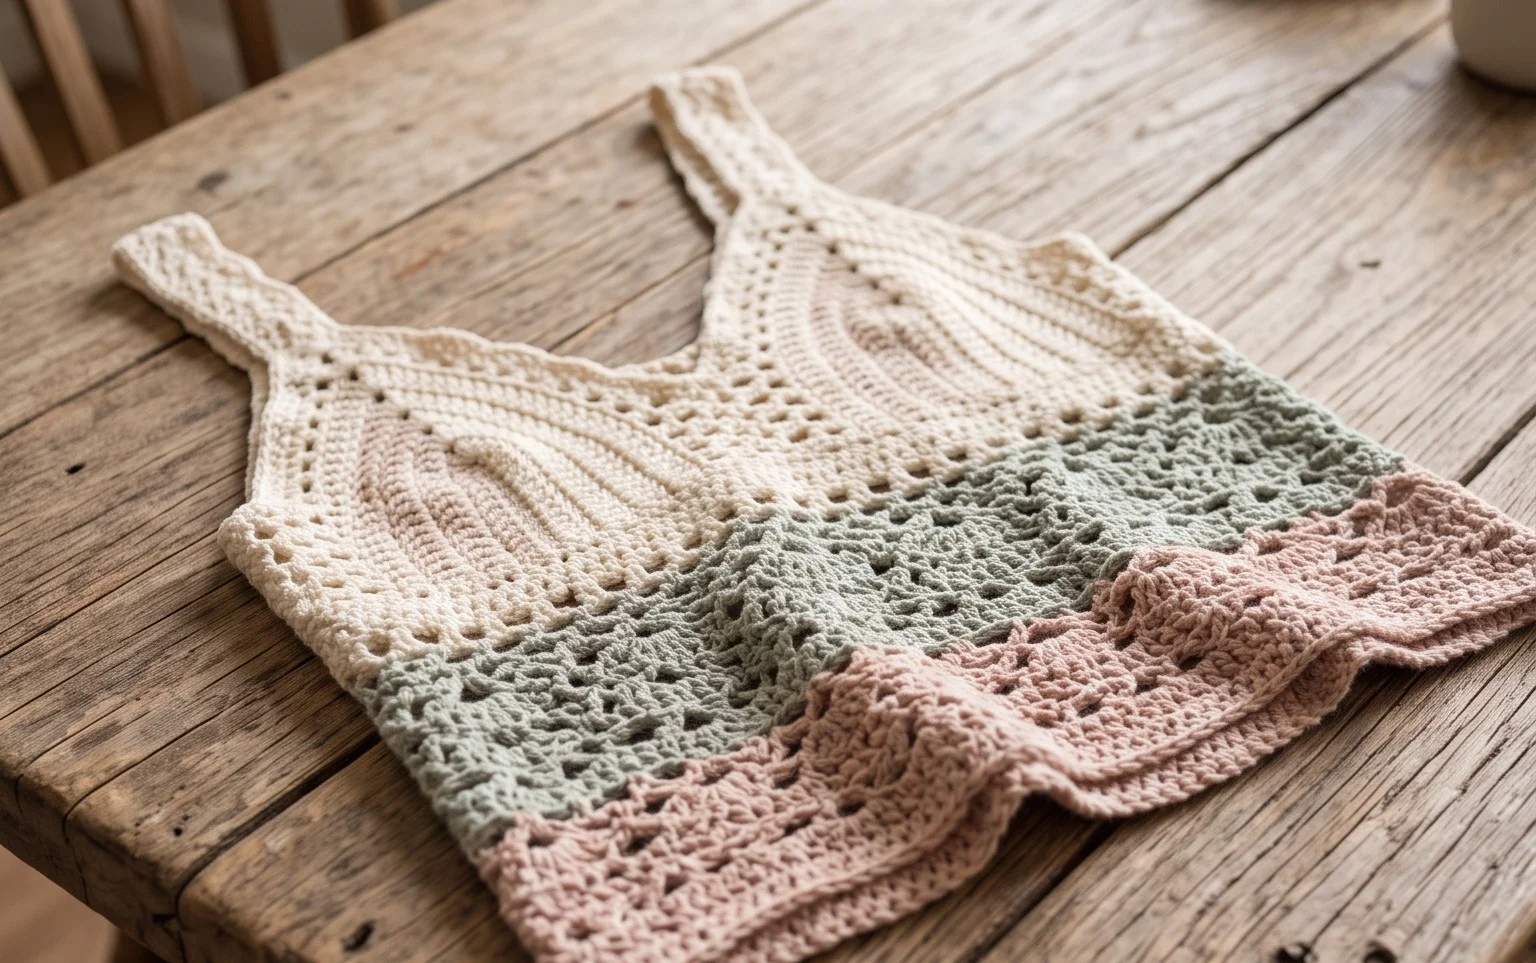
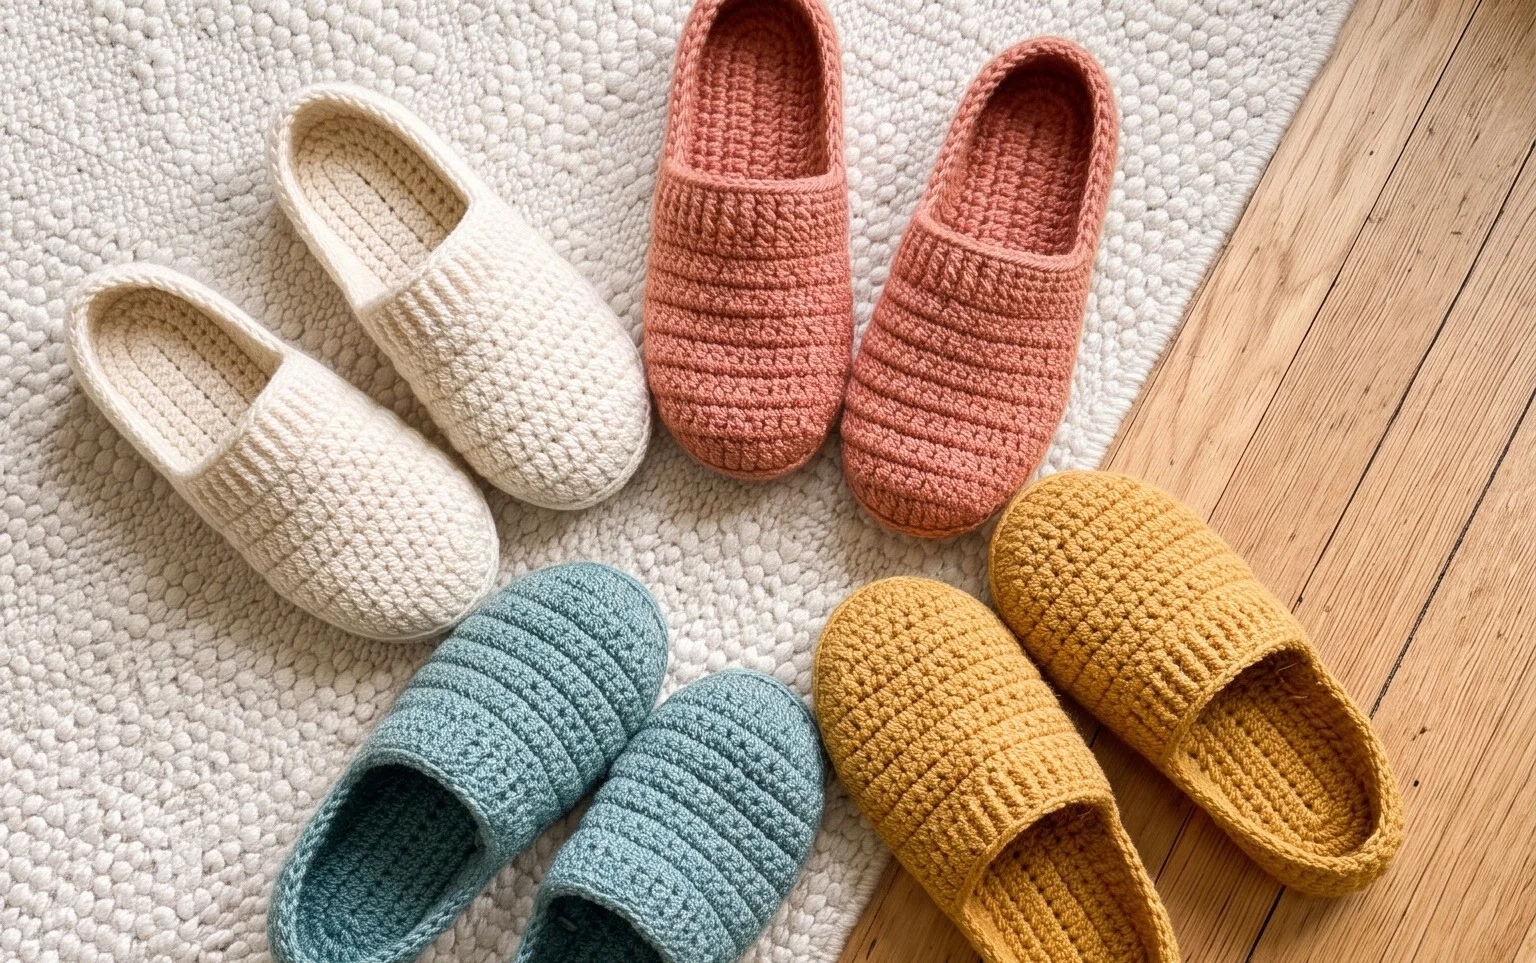
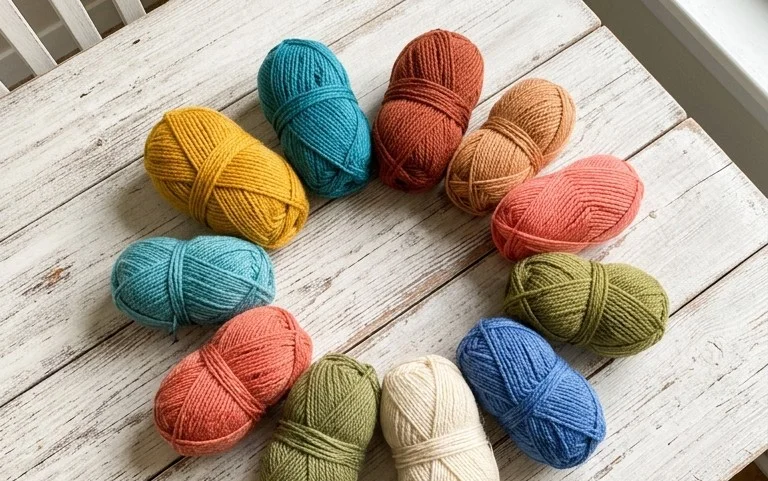
Leftover balls of yarn often clutter craft drawers, but they hold the potential for cozy accessories and useful household items. These patterns transform small, mismatched quantities of fiber into textured beanies, washcloths, or colorful coasters that feel substantial in your hands. Working with short lengths of yarn prevents waste while allowing you to practice specific stitches like the single crochet back loop only technique without committing to a massive project. Beginners find this approach encouraging because smaller items move quickly from hook to finished object. You will gain confidence in tension control and color transitions as you clear out your stash for new supplies.
Why Crocheters Love It
This beginner-friendly project creates a classic crochet beanie using simple stitches that work up remarkably fast. Because it uses a basic rectangle worked in rows and then seamed, you can finish an entire hat in a single evening. The texture is dense and warm, making it a reliable choice for chilly weather or as a thoughtful, handmade gift for friends and family. The rhythmic, repetitive nature of the stitching is ideal for those times when you want to keep your hands busy while relaxing on the sofa.
I managed to finish two of these in one weekend for my nieces. The instructions were very easy to follow and the finished hat fits perfectly.
— Sarah, hobbyist crafter
Pattern Overview & Skill Level
- Skill Level: Beginner
- Approximate Time: 2 to 3 hours
- Construction: Flat rectangle worked in rows, seamed to form a tube, and gathered at the top
- Finished Dimensions: Fits an average adult head (20–22 inches circumference)
Materials & Supplies Needed
- Yarn: Worsted weight #4 acrylic or wool blend, approximately 200 yards
- Hook Size: 5.5 mm / I-9
- Notions: Tapestry needle for seaming and weaving ends, locking stitch markers, scissors
- Safe yarn substitutions: Cotton yarn will result in a heavier, less stretchy hat, while bulky weight yarn would require adjusting the chain count to maintain the same dimensions.
Stitch Guide & Abbreviations (US Terms)
- ch = chain
- st = stitch
- sc = single crochet
- BLO = back loop only (inserting the hook only under the back loop of the stitch from the previous row)
- sl st = slip stitch
Step-by-Step Pattern Instructions
Hat Body
- Row 1: Ch 40. Sc in the second ch from the hook and in each ch across. (39 sts)
- Row 2: Ch 1, turn. Sc in BLO of each st across. (39 sts)
- Rows 3–60: Repeat Row 2 until the piece measures approximately 18 inches in length when slightly stretched.
- Finishing the body: Do not fasten off. Fold the rectangle in half so the short edges meet. Slip stitch the two edges together through both layers to create a tube. Fasten off, leaving a 10-inch tail of yarn.
Assembly
Using the long yarn tail and your tapestry needle, weave the thread in and out through the stitches along the top edge of the tube. Pull the yarn tail tight to gather the opening until it closes completely. Secure the yarn with a knot and weave in the end to ensure the top of the hat is sealed. Turn the hat right-side out to hide the seam.
Care & Washing Instructions
- Machine wash on a gentle cycle in cool water with mild detergent.
- Lay the hat flat on a clean towel to air dry, reshaping it while damp.
- Avoid using high heat in a dryer, as this can shrink synthetic fibers and distort the hat shape.
Pro Tips & Common Mistakes to Avoid
Maintain consistent tension throughout the project to ensure the ribbed texture looks uniform. If your stitches become too tight, the hat will lose its necessary stretch, so keep your movements relaxed. Always place a stitch marker in the first stitch of each row to help you keep count, as it is easy to accidentally skip the final stitch of a row. Weave your tail ends in by running them through the back loops of the stitches for several inches to ensure they remain secure through repeated washing.
Frequently Asked Questions
Can I use a different yarn weight for this pattern?
Yes, but you must adjust your starting chain count. If using a thinner yarn, add more chains to reach the desired height, and if using a thicker yarn, reduce the number of chains. Always check your gauge before starting.
Is this pattern suitable for absolute beginners?
Absolutely. This pattern uses only the single crochet stitch and the back loop technique, which are the fundamental building blocks of crochet. It is a great first garment project.
How do I adjust the size of the hat?
To make the hat larger or smaller, simply add or subtract rows until the rectangle fits comfortably around your head. Changing the length of the starting chain will change how much of the hat can be folded over as a brim.
Am I allowed to sell finished items made from this pattern?
Please check the designer’s specific terms of use provided with the pattern source. Generally, small-scale sales of handmade items are acceptable, but you should always credit the designer for the original pattern.
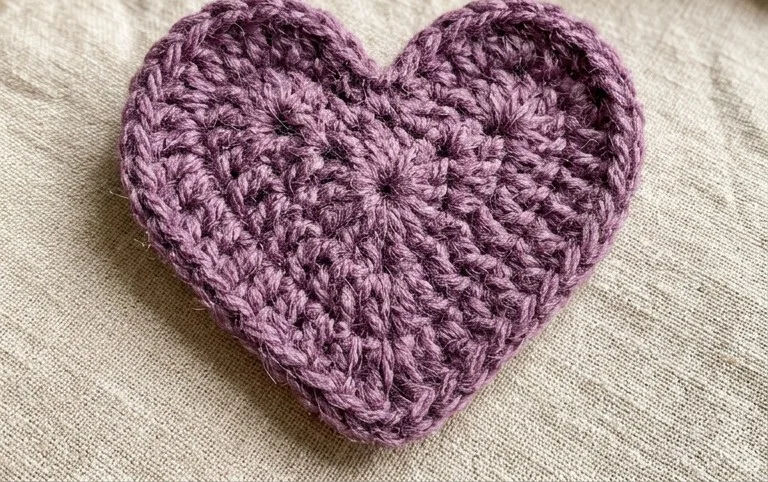
Seeing your yarn basket get emptier while your pile of finished goods grows is a genuine reward for any maker. You might try striping your next beanie with three different colors to add visual depth or using a variegated yarn for a surprising texture. Sharing a photo of your completed work on Instagram or Pinterest shows others how simple yarn scraps become meaningful gifts. Feel free to browse through the rest of the site for more free patterns that help you organize your workspace and build your skills one stitch at a time.